✨ Before you begin setting up your Media Library Selection page, ensure you've set up your applicants' Media Library first. View this tutorial to learn how to set up the applicant Media Library.
🖼️ Setting Up the Media Library Selection Page
Allow applicants to "pull" items from their personal Media Library and "attach" them to a specific grant application. Think of the Media Library as a cloud storage locker, and this page as a delivery package where they choose which items to submit.
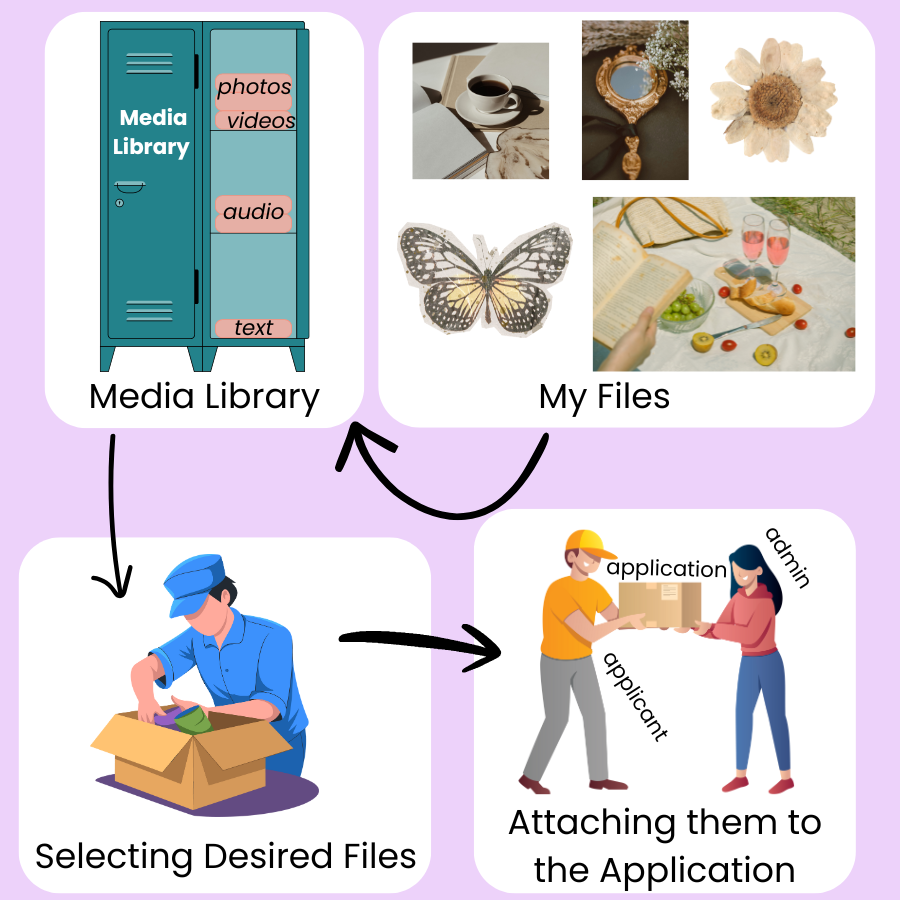
Visual analogy of the media library and media library selection page workflow.
📸 Click here for detailed alt-text.
An infographic titled "Media Library Files" on a light purple background, illustrating the process of selecting and attaching files to an application through four numbered stages connected by arrows: 1) Media Library: A teal locker representing a storage system. Shelves inside are labeled "photos," "videos," "audio," and "text." 2) My Files: A collection of aesthetic images, including a coffee cup, a vintage mirror, a dried flower, a butterfly, and a picnic scene, representing the user's personal content. 3) Selecting Desired Files: An illustration of a person in a blue uniform carefully packing items into a cardboard box. 4) Attaching them to the Application: An illustration showing an "applicant" handing a box labeled "application" to an "admin."
📝 Note: The Media Library process is a two-part task:
Upload: Applicants add files to their global Media Library under the "Media Library" tab.
Attach: Applicants navigate to the Media Library Selection page within the application to choose which files to include.
➕ Add Page to Cycle
First, you will need to add this page to your application.
Go to the Grant Editor tab → Cycle Pages subtab.
Scroll down to the Page Type dropdown.
Select Media Library Selection.
Title the page.
Check the respective checkbox if the page belongs in a Final or Interim Report.
Click Add.
Click the blue ✏️ (pencil icon) to customize page text and set file parameters
⚠️ Alert: Only one Media Library Selection Page can be added to a cycle at a time. This page cannot be added to an Intent to Apply.
✍️ Customizing Page Text
Use these two distinct areas to provide guidance to applicants:
Info/Instruction Text: Appears at the top of the page. List exact requirements here (e.g., "Please submit 3 images and 1 audio file").
Attached Media / Ordering Text: Appears at the bottom of the page above selected files. Remind applicants to reorder their files into a specific or preferred viewing order.
⚙️ Setting File Parameters
Control the volume and type of submissions by adjusting these settings:
Min/Max Samples: Set the minimum and maximum number of files allowed for submission.
Hide Media Types: Set a Max Sample to 0 to remove the "Attach" button for that specific file type (e.g., Video).
File Size: Set the maximum file size in MB to ensure reviewers can load media quickly.
🎥 Click here for alt-text.
This 30-second video demonstrates the administrative backend used to set file size limits and quantity requirements for applicant media submissions. Section 1: Navigating to Media Selection Settings: The video starts on the GO Smart platform's "Administration" dashboard. Menu Selection: An administrator clicks on the "Grant Editor" tab and selects "Cycle Pages" from the left-hand sidebar. Page Selection: From a list of application pages, the user selects "Media Library Selection" (sequence number 4) and clicks the "Edit" icon. Section 2: Configuring Media Requirements The view shifts to the "Application Pages" editor for a specific grant cycle. The editor includes a field for "Attached Media / Ordering Info / Instruction Text," which allows admins to provide applicants with guidance on organizing their media. Defining Limits: A table titled "File Type" allows the admin to set specific constraints for different media categories: Image: Max file size is updated to 10 MB, with a minimum of 5 and a maximum of 8 samples. Audio: Max file size is updated to 5 MB, with a minimum of 0 and a maximum of 2 samples. Video: Max file size is set to 100 MB, with a minimum of 0 and a maximum of 1 sample. Document: Max file size is updated to 1 MB, with a minimum of 1 and a maximum of 5 samples. Saving Changes: The admin clicks the "Update" button at the bottom right to save these requirements.
💬 Media Library Selection Page Suggested Text
Provide clear instructions for your applicants to reduce missing uploads and revisions. Copy and paste these templates into the Info/Instruction text blocks or modify as appropriate for your media.
1. Top of Page: Info/Instruction Text
How to submit media: This is a two-step process. If you do not see your files listed below, please follow these steps:
Upload: Click the Media Library tab in the main menu to upload your files to your library.
Attach: Return to this page and click the "Attach [Media Type]" button to select those files for this specific application.
Check the box for the desired file(s).
If you have not uploaded your media:
Click the green Upload New Media file button.
Upload the file(s) and click the Return to Application button.
Click the Attach [Media Type] button and select the files.
Click Save.
Requirements for this grant:
Images: Minimum of #, Maximum of #.
Documents: Please attach 1 copy of your [document].
Video/Audio: Optional (Maximum of #).
2. Bottom of Page: Ordering Info/Instruction Text
Review Your Selection: The items shown below are what the reviewers and panelists will see.
To Reorder: Click a dropdown beneath the thumbnails to change the viewing order. Selecting "1" makes the file appear first.
To Edit Details: Change titles or descriptions within the Media Library tab.
To Remove: Click the Attach button for the media type, uncheck the box next to the file, and click Save.
📝 Note: If your applicant needs help detaching a committed media from their Media Library, view this tutorial for troubleshooting help.
📋 Admin Checklist: Media Page Setup
Run through this quick checklist to ensure your Media Page is ready for applicants:
Step 1: Set up and enable your media library in the Front End Manager tab → Media Library Module subtab.
Step 2: Add the Media Library Selection page in the Grant Editor tab → Cycle Pages subtab.
Step 3: Add appropriate info/instruction text.
Step 4: Ensure no media type you want to collect is set to "0."
Step 5: Specify the minimum number of files required.
Step 6: Confirm max file sizes are high enough for video/audio but reasonable for images.
🧐 The Reviewer View
Attached media is presented to panelists in a professional gallery format within the Support Materials tab.
Images: Displayed as high-resolution images in a full-screen modal viewer.
Video/Audio: Accessible via embedded players directly within the browser.
Documents: Displayed via an embedded text file viewer with a download icon available.
Metadata: Accessed by clicking the ℹ️ information symbol next to each media title.
📝 Note: Panelists view media in the exact order arranged by the applicant.
🎥 Click here for video alt-text.
This 40-second video shows the user interface of the "GO Smart" grants management software, comparing the applicant's setup view with the panelist's review view. Section 1: Applicant's Media Library Selection Page The video begins on a page titled "Applicant's Files on the Media Library Selection Page". Sorting Interface: A grid shows various media files—including a PDF, an audio file, and several images—each with a "Sort Order" dropdown menu. File Types: The files shown include a document titled "guidelines," an audio file titled "Lofi," and image/video files titled "bridge," "cats," "buildings," "green," and "earth". Instructions: On-screen text instructs the applicant to "Change the order in which your media files will be viewed by setting the Sort Order for each file". Section 2: Panelist's Review View The video transitions to the "Panelist's View of Applicant's Support Materials". Support Materials Tab: Under the "Support Materials" tab for an applicant named Kelsey Tooie, a row of thumbnails titled "Work Samples" is displayed. Slideshow Experience: Clicking a thumbnail opens a full-screen slideshow. The reviewer navigates through the files in the exact order established by the applicant: guidelines: A PDF viewer showing a "Dummy PDF file". Lofi: An audio player with a play button and a 23-second duration. Visual Media: High-resolution views of the "bridge," "cats," "buildings," and "green" paintings. earth: A video player showing a rotating Earth with a 30-second duration. Inline Uploads: After the media library files, the slideshow continues into "Inline Uploads," showing a black cat, a wooden table, and the "GO Smart" logo.
🛠️ Troubleshooting for Reviewers
If a reviewer reports an issue with media, here is a quick "Fix-It" list:
Problem | Solution |
|---|---|
Video won't play | Check the internet connection or ensure the browser is up to date |
Image is blurry | Check the file size in the Media Report; the applicant may have uploaded a low-resolution file. |
Missing files | Verify the applicant "Attached" the files rather than just "Uploading" them to their library. |
📊 Run a Report
Go to the Reports tab → Custom Report Builder subtab.
Include the Media Library Selection page in the report criteria.
Select the desired statuses.
Click Build Report.
Select View Media Report to view in a browser or Download Media Report to Excel for a spreadsheet file.